SQLServerで2つめ以降のインスタンスを追加する方法を紹介します。
1つめのインスタンスはSQLServerをインストールしたときに作れますが、2つめ以降のインスタンスを追加する方法は少し分かりにくいかと思います。
SQLServer2017を例に解説しますが、基本的に他のバージョンでも同じです。
SQLServerでインスタンスを追加する方法
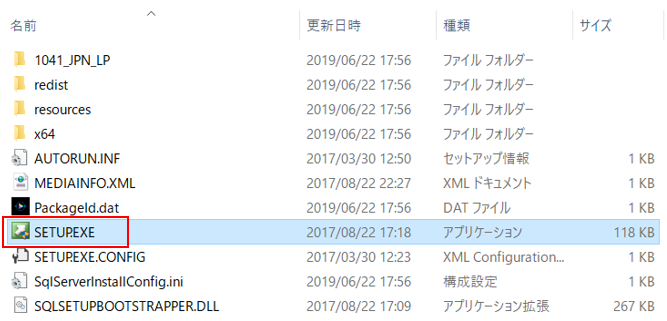
1.エクスプローラーからSETUP.EXEを開きます。インストールの場所などを変えていなければ、C:\SQLServer2017Media\Express_JPN のディレクトリにあると思います。
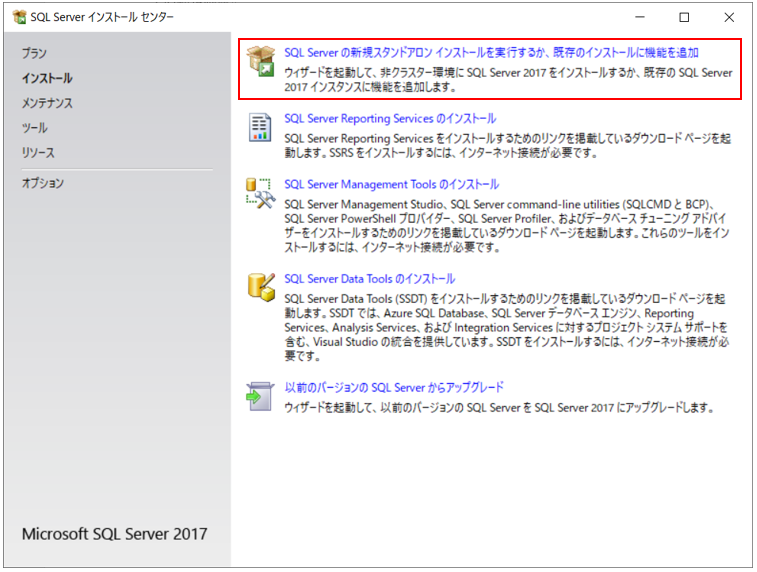
2. “SQL Server の新規スタンドアロン インストールを実行するか、既存のインストールに機能を追加”をクリックします。
3.内容を確認し、適宜設定などを行い[次へ(N)]をクリックします。
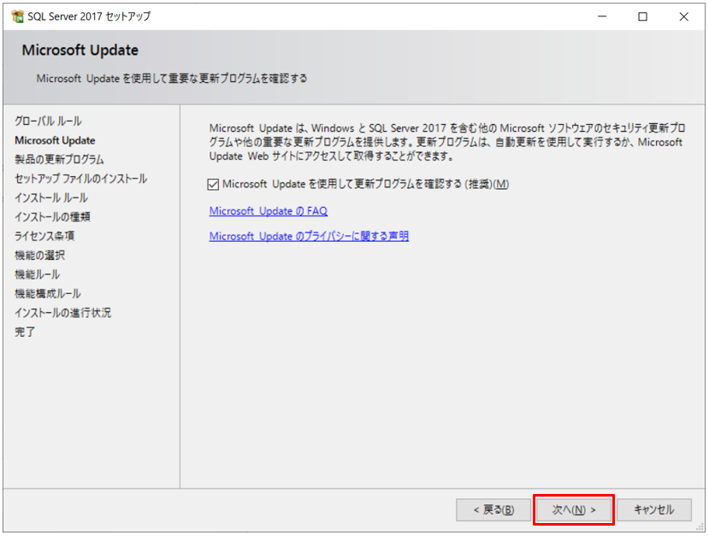
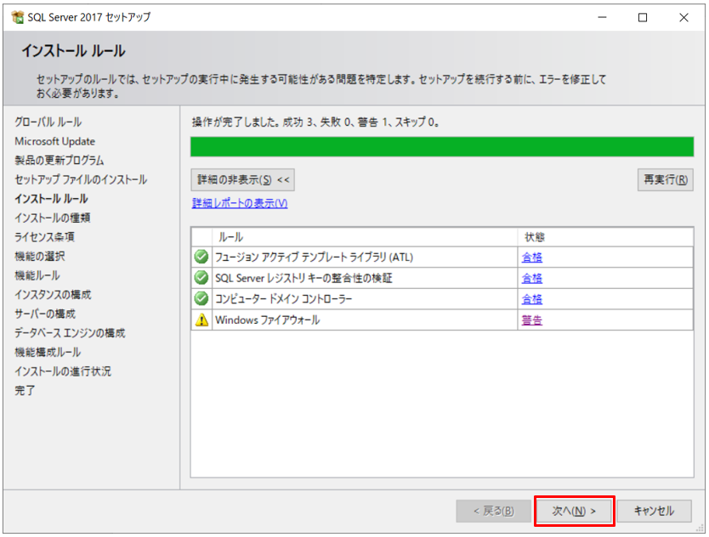
4.内容を確認し、適宜設定などを行い[次へ(N)]をクリックします。
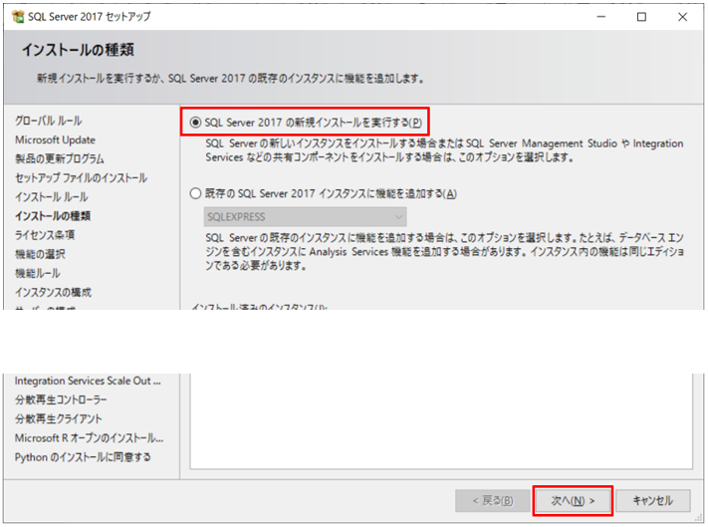
5.“SQL Server 2017 の新規インストールを実行する(P)”にチェックがついていることを確認し、[次へ(N)]をクリックします。
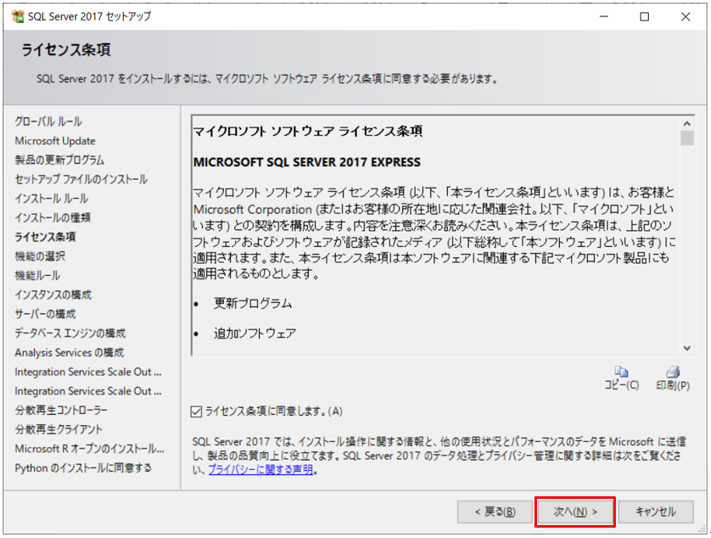
6.内容を確認し、適宜設定などを行い[次へ(N)]をクリックします。
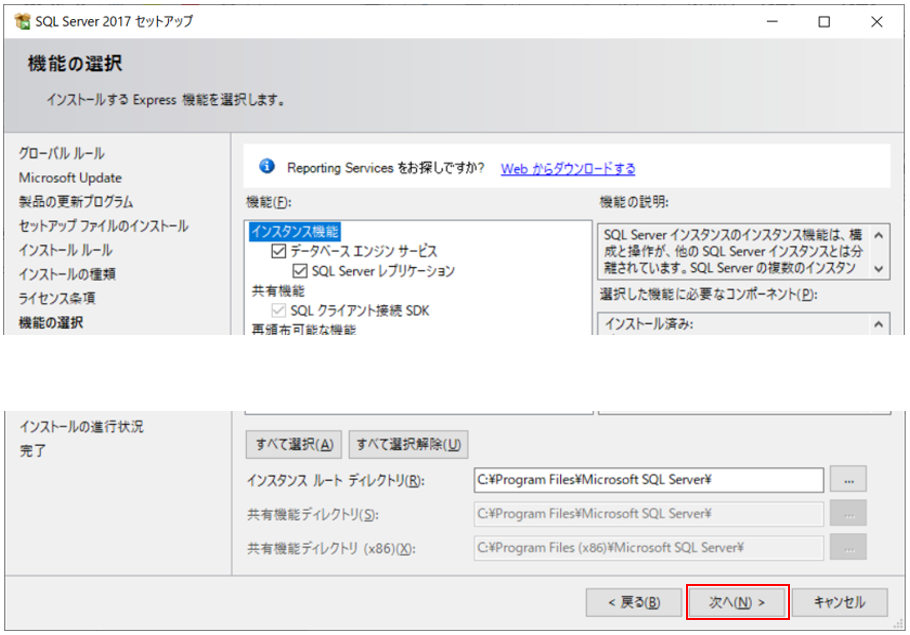
7.内容を確認し、適宜設定などを行い[次へ(N)]をクリックします。
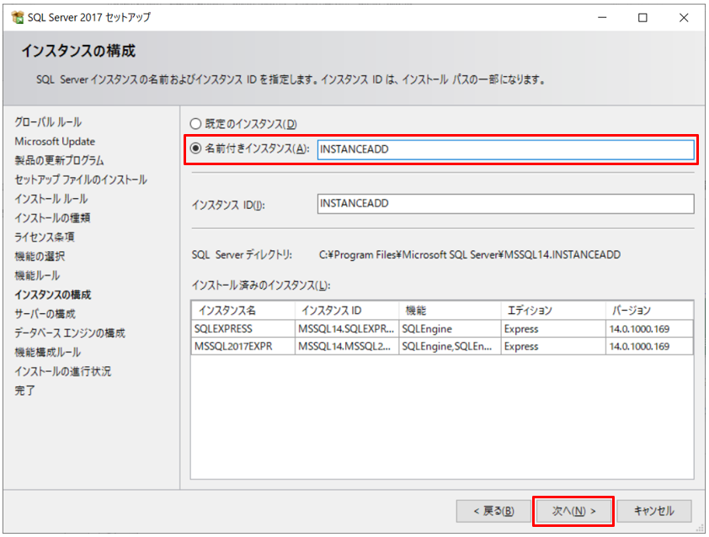
8.”名前付きインスタンス(A)”を選択にチェックを付け、右横の欄にインスタンス名を入力し、[次へ(N)]をクリックします。
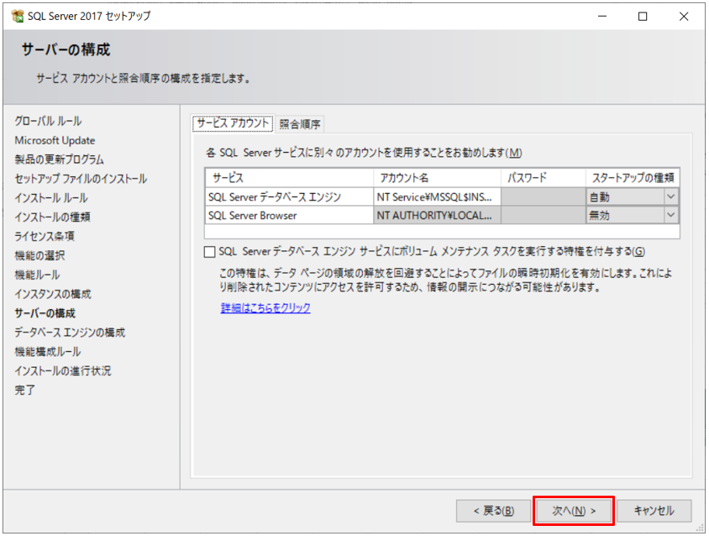
9.内容を確認し、適宜設定などを行い[次へ(N)]をクリックします。
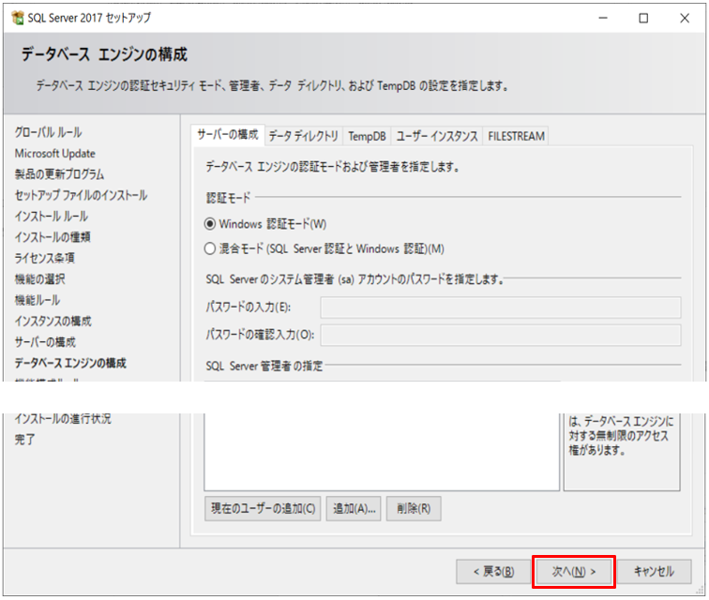
10.内容を確認し、適宜設定などを行い[次へ(N)]をクリックします。
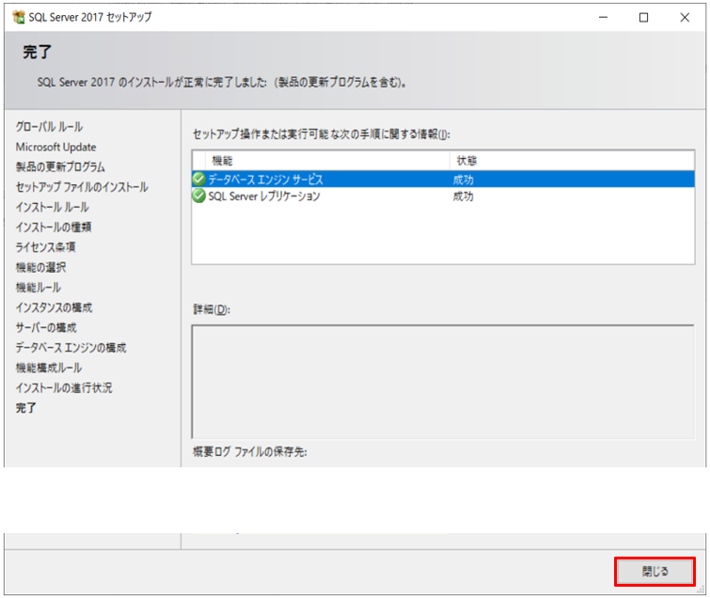
11.内容を確認のうえで、[閉じる]をクリックして完了です。