
VisualStudioでSQLServerを操作する方法です。
SQLServerManagementStudioの全ての機能を網羅するわけではないですが、SQL文の発行や上位200行の編集のような操作は可能です。
本記事の内容はVisualStudio2019を使った解説となりますが、他のバージョンでも同様に操作できると思います。
VisualStudioでSQLServerへ接続する
ワークロードのインストール
1.Visual Studioのインストーラーを開きます。

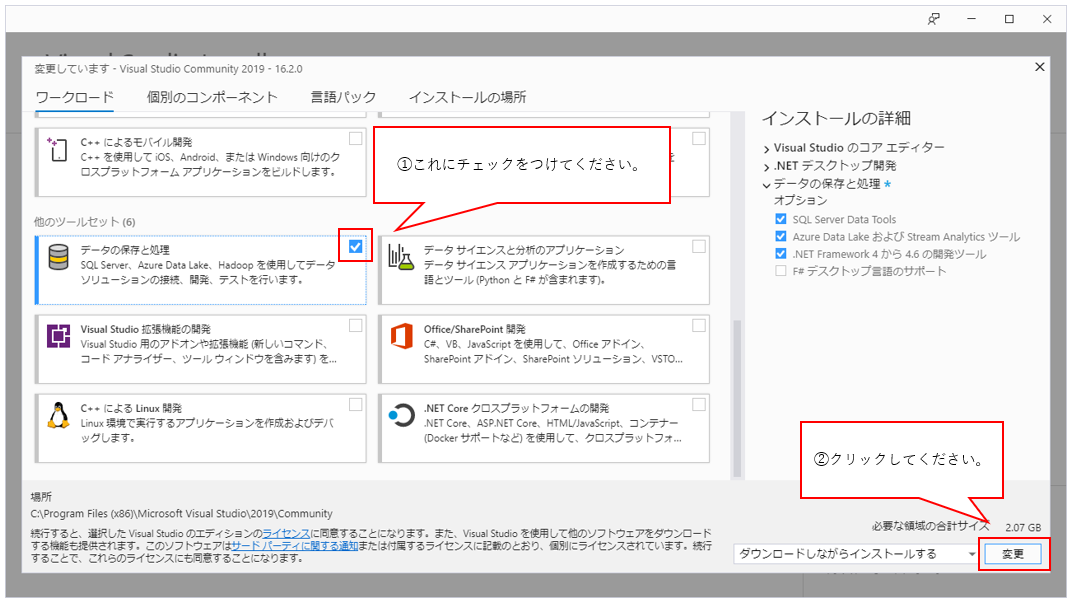
2.ワークロードの”データの保存と処理”にチェックをつけ、[変更]をクリックしてください。すでにチェックがついている場合は何もせず閉じてSQLServerへ接続項へ進んでください。
SQLServerへ接続
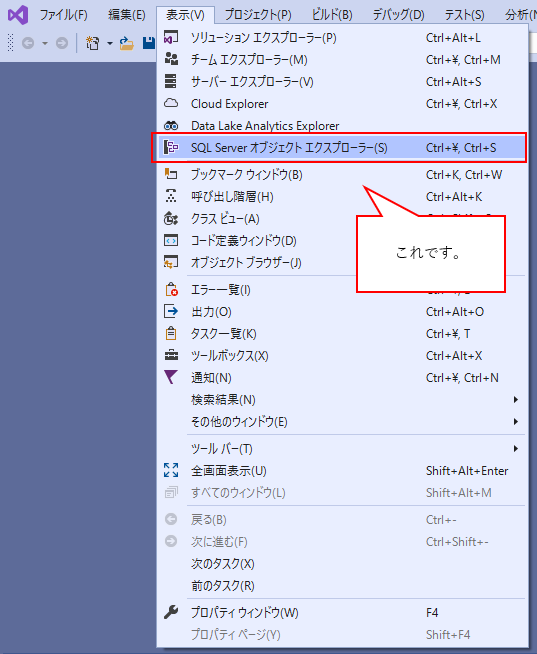
1.VisualStudioを起動し、[表示] -> [SQL Server オブジェクトエクスプローラー(S)]をクリックしてください。
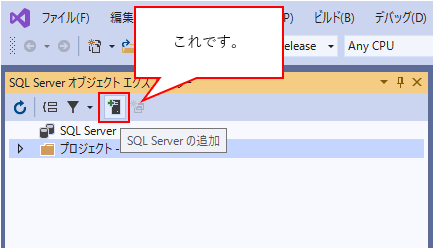
2.SQL Server オブジェクトエクスプローラーが表示されるので、[SQL Server の追加]をクリックしてください。
3.”サーバー名:”項にサーバー名を入力し、[接続]をクリックしてください。
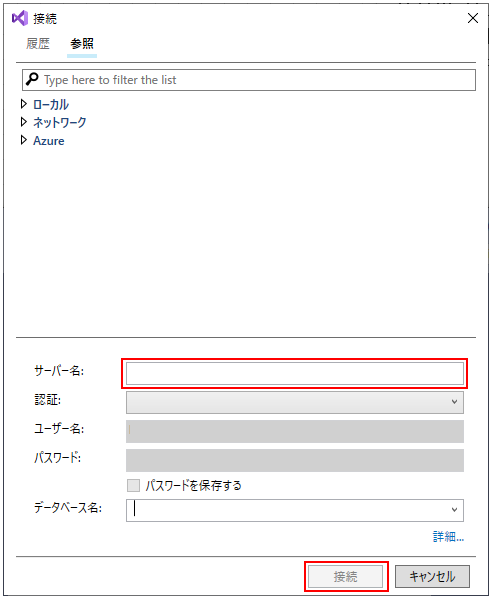
(補足)
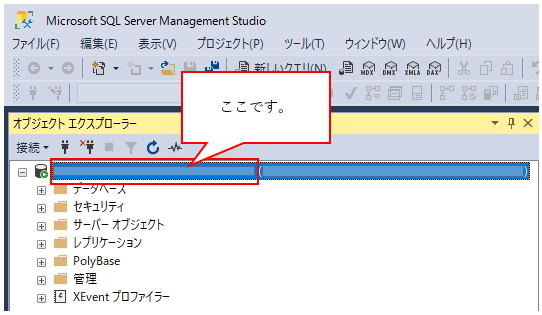
サーバー名はSQLServerManagementStudioでいえば下記の箇所を入力してください。
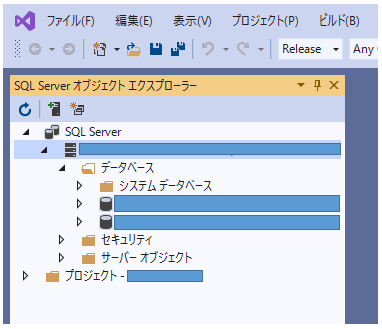
4.これで、VisualStudioでSQLServerへ接続できます。

VisualStudioでSQLServerを操作する
VisualStudioで接続したら、SQL文を発行したりテーブルを編集することができます。
SQL文の発行
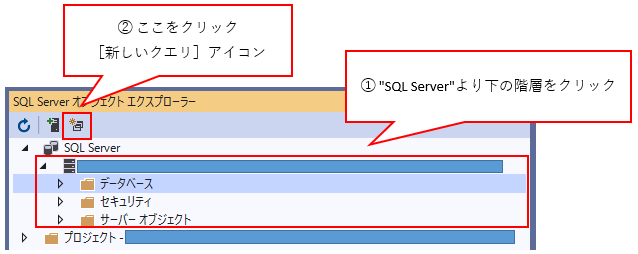
1.下記画像を参考に、”SQLServer”よりも下の階層をクリックし[新しいクエリ]アイコンをクリックします。
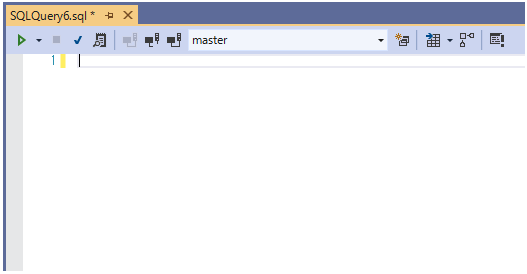
2.SQL文の入力画面が表示されるので、ここでSQLを発行できます。
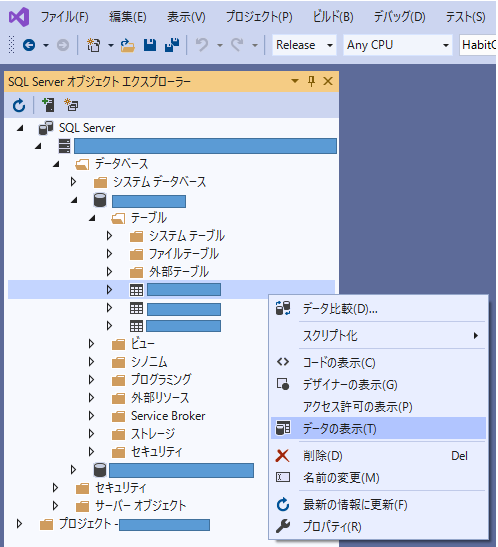
テーブル編集
1.テーブルを右クリックし、[データの表示]をクリックします。
2.テーブル内のデータが表示されるので、編集することができます。

