
A5:SQL Mk-2というフリーソフトを使ってテーブル定義書を作ってみたので備忘録として残しておこうと思います。
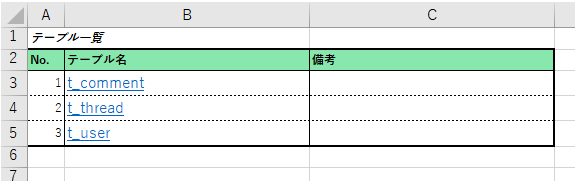
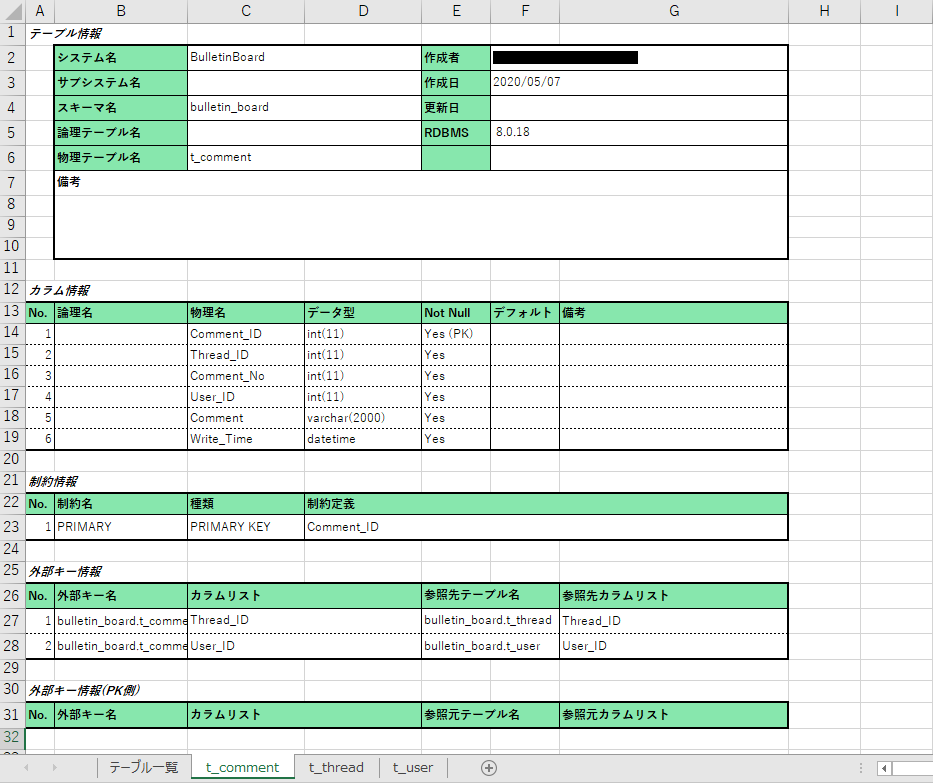
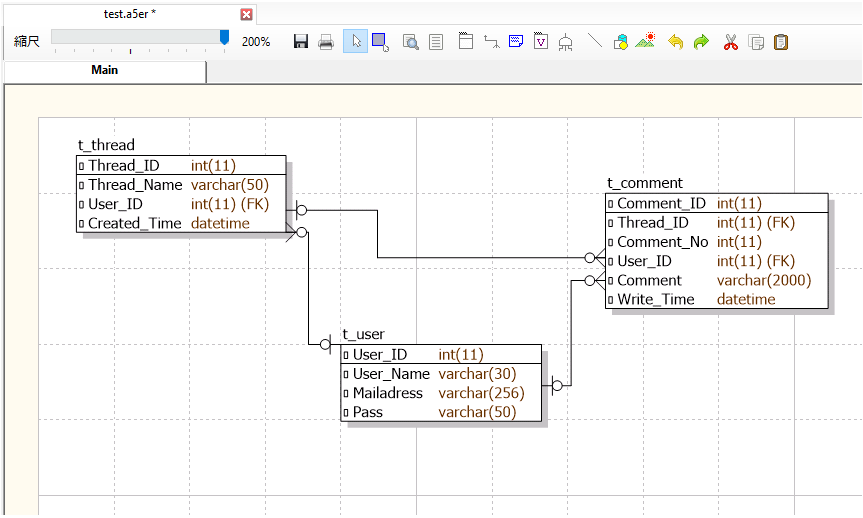
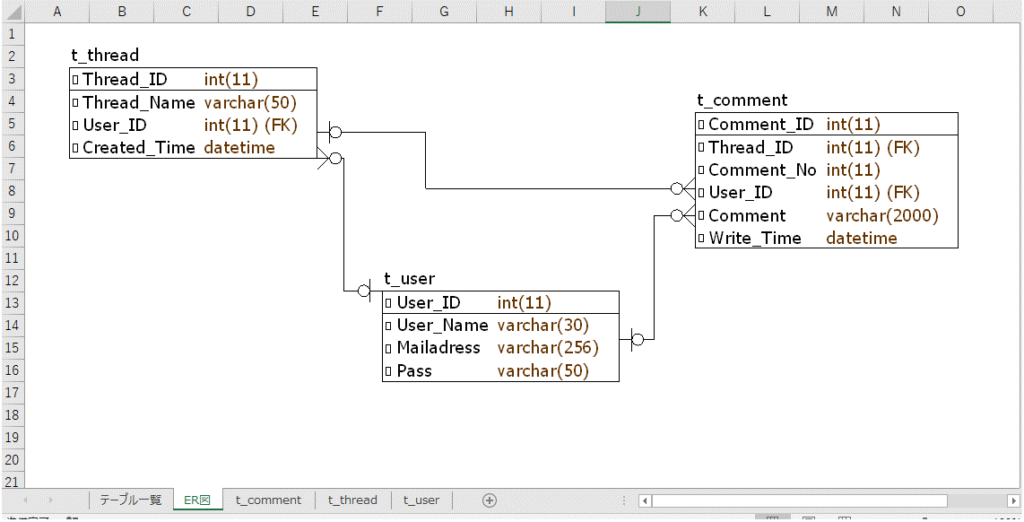
本記事では下記のようなサンプル(一部省略しています)を作成する方法を記載しています。
Windows10を使っている方を向けの記事となります。

準備
A5:SQL Mk-2を使ってテーブル定義書を作るにあたり、あかかじめデータベースを用意してその中にテーブルを作っておく必要があります。本記事のサンプルではMySQLを用いました。参考までにサンプル用のデータベース及びテーブルを作成するクエリを紹介しておきます。
/*データベースの作成*/
drop database if exists Bulletin_Board;
create database Bulletin_Board;
/*テーブルの作成*/
/*参照整合性制約を考慮しテーブルを作る順番にも配慮している*/
use Bulletin_Board;
drop table if exists T_User;
create table T_User(
  User_ID int not null,
  User_Name varchar(30) not null,
  Mailadress varchar(256) not null,
  Pass varchar(50) not null,
  primary key (User_ID)
);
drop table if exists T_Thread;
create table T_Thread(
  Thread_ID int not null,
  Thread_Name varchar(50) not null,
  User_ID int not null,
  Created_Time datetime not null,
  primary key (Thread_ID),
  foreign key (User_ID) references T_User(User_ID)
);
drop table if exists T_Comment;
create table T_Comment(
  Comment_ID int not null,
  Thread_ID int not null,
  Comment_No int not null,
  User_ID int not null,
  Comment varchar(2000) not null,
  Write_Time datetime not null,
  primary key (Comment_ID),
  foreign key (Thread_ID) references T_Thread(Thread_ID),
  foreign key (User_ID) references T_User(User_ID)
);
A5:SQL Mk-2のインストールと初期設定
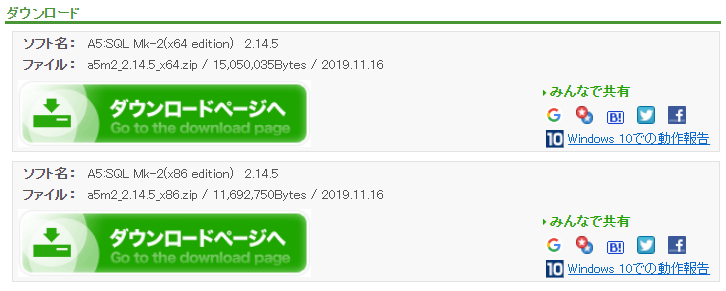
1.下記のページへ移動します。

2.ページ下部の方にダウンロードボタンがあるのでどちらを使用するか適宜判断し、[ダウンロードページへ]ボタンをクリックします。ちなみに、筆者はA5:SQL Mk-2(x64 edition)を選択しました。また、バージョンはVersion2.14.5となります。
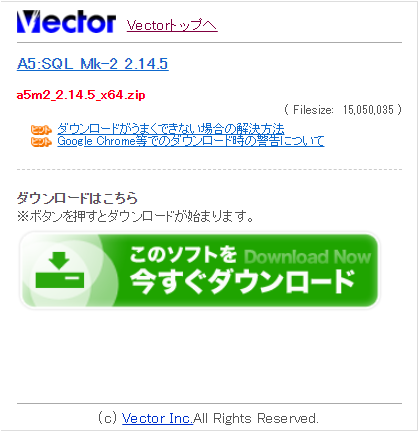
3.[このソフトを今すぐダウンロード]をクリックします。
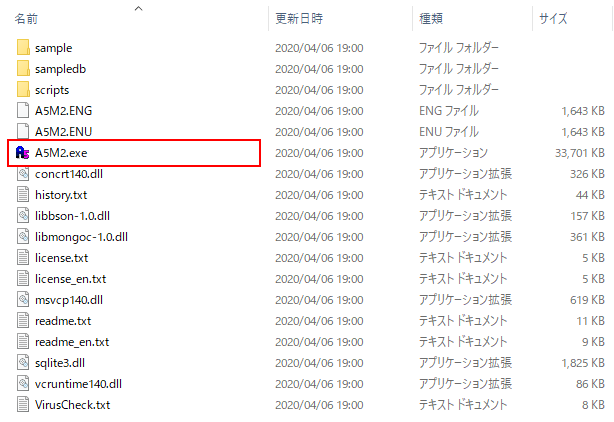
3.ダウンロードしたzipファイルを解凍し、その中にある”A5M2.exe”をクリックします。
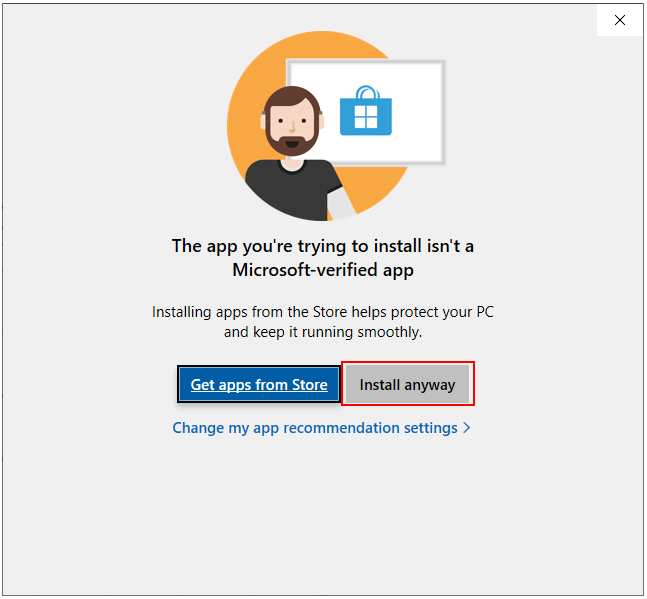
4.下記のメッセージが出てきた場合は、[Install anyway]をクリックします。
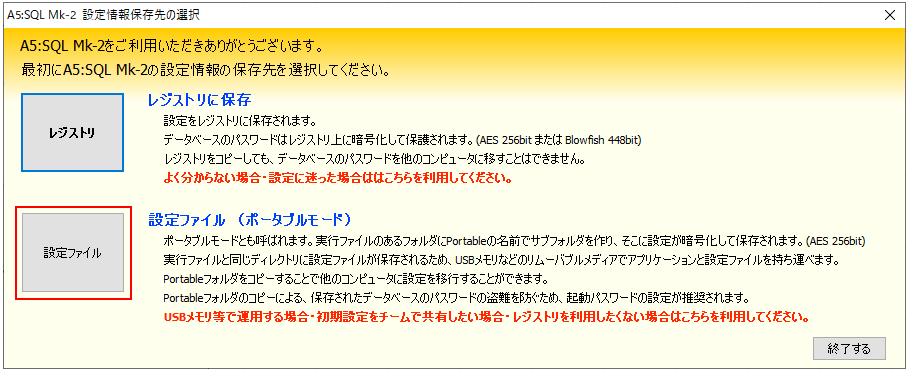
5.どちらでもよいと思いますが、筆者は[設定ファイル]を選択しました。
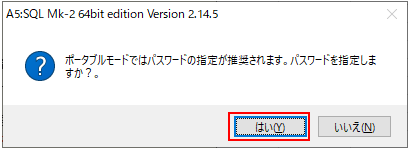
6.どちらでもよいと思いますが、筆者は[はい(Y)]を選択しました。
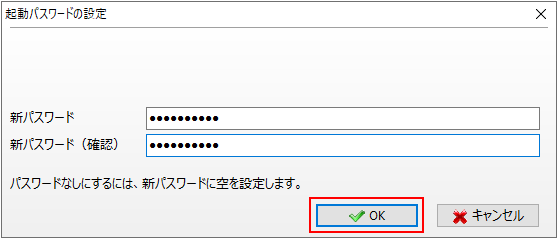
7.パスワードを入力し、[OK]をクリックします。
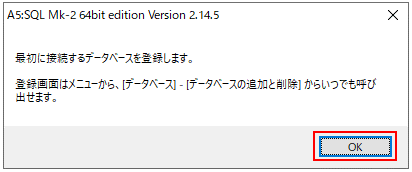
8.[OK]をクリックします。
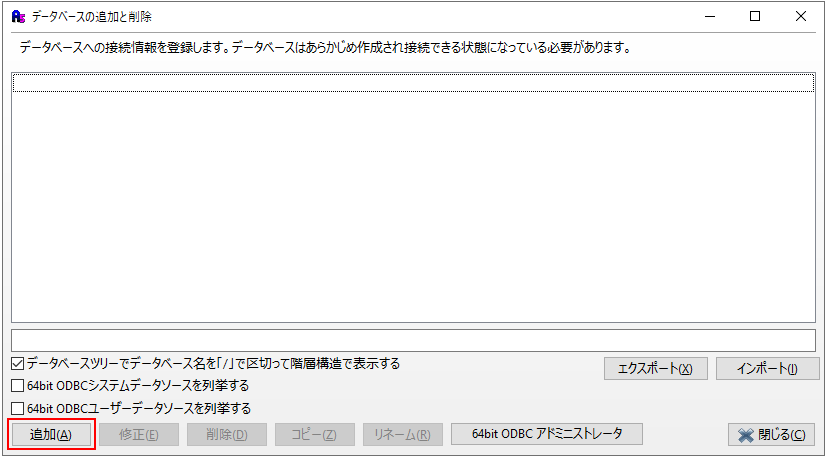
9.[追加(A)]をクリックします。
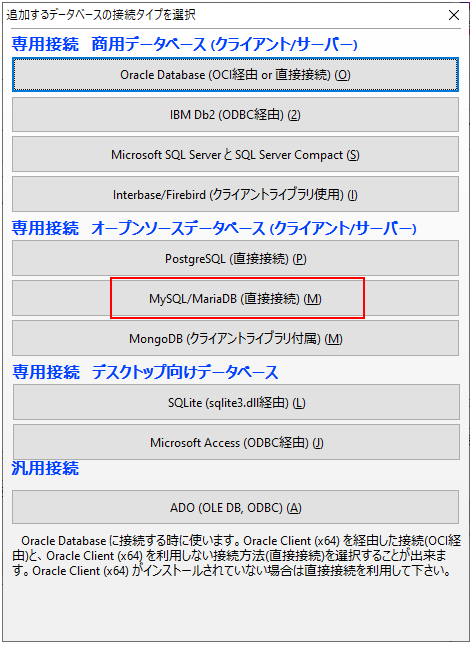
10.お使いのデータベースを適宜クリックしてください。筆者はMySQLを使用していたので[MySQL/MariaDB(直接接続)(M)]をクリックしました。
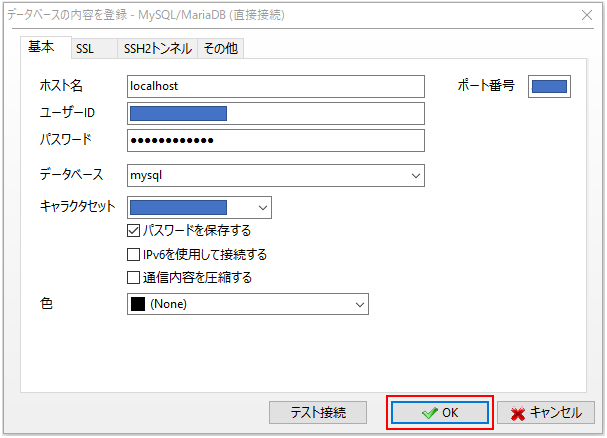
11.お使いのデータベースに関する情報を入力し、[OK]をクリックします。
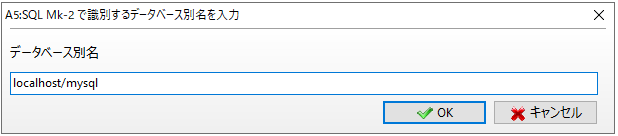
12.データベース別名を適宜入力し、[OK]をクリックします。
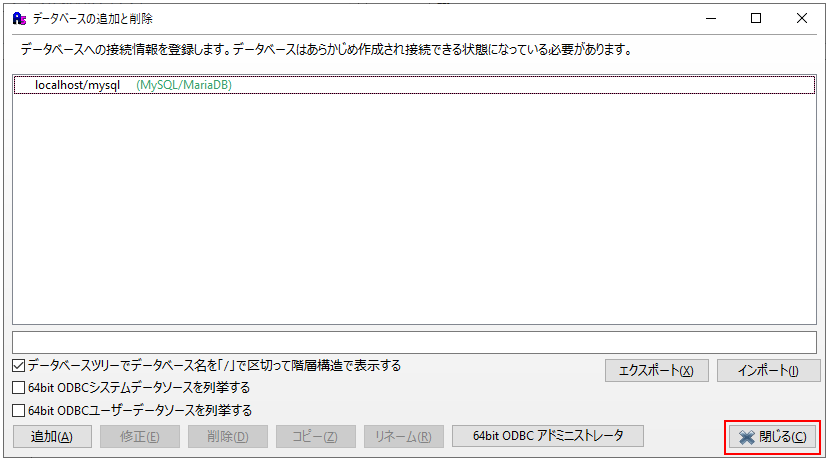
13.[閉じる(C)]をクリックします。
テーブル定義書の作成
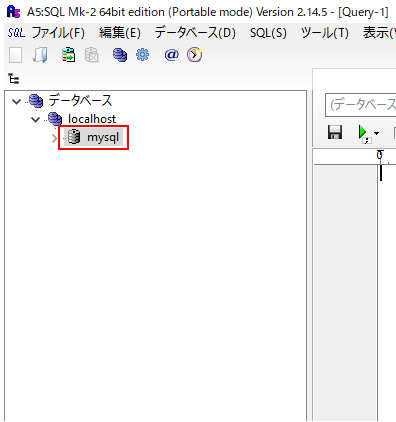
1.A5:SQL Mk-2のインストールと初期設定項で作成したデータベース別名(この記事の場合は”mysql”)をダブルクリックします。
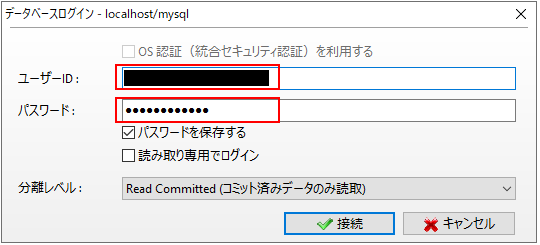
2.ユーザーIDとパスワードを入力し、[接続]をクリックします。
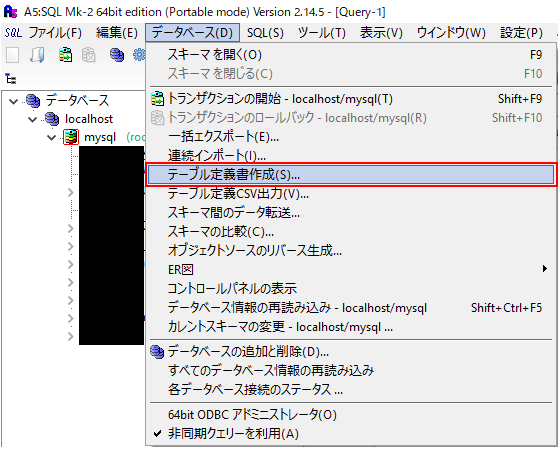
3.[データベース(D)]->[テーブル定義書作成(S)…]をクリックします。
4.対象のテーブルが含まれるデータベース名をプルダウンで選択し(①)、テーブル定義書を作成するテーブルを選択し(②)、その他適宜設定して[テーブル定義書作成]をクリックします(③)。

5.新規のエクセルブックが作成され、その中にテーブルの定義が記載されています。
※他に必要な項目や不要な項目がある場合は適宜設定をし直して再度作成すれば良いと思います。
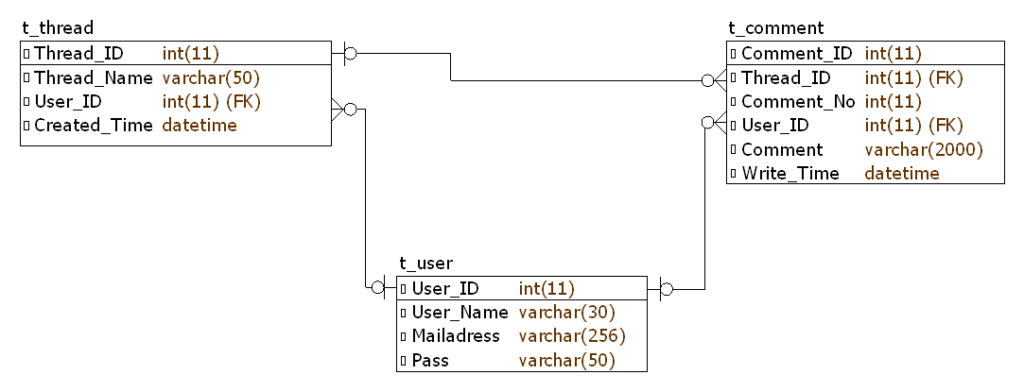
ER図の作成
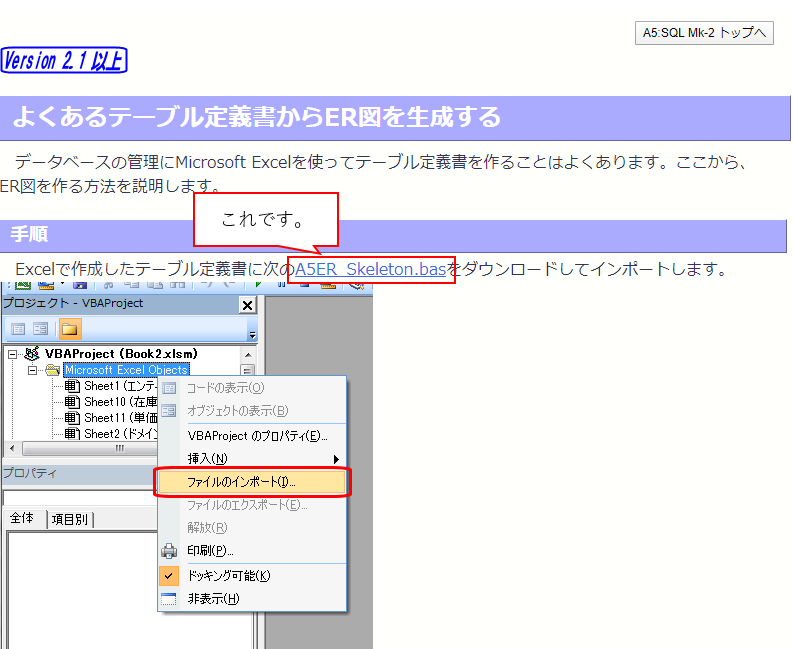
1.A5:SQL Mk-2の開発者様のページへ移動します。
2.”A5ER_Skeleton.bas”のリンクをクリックします。
3.ExcelVBAのソースコードが表示されるのでコピーします。

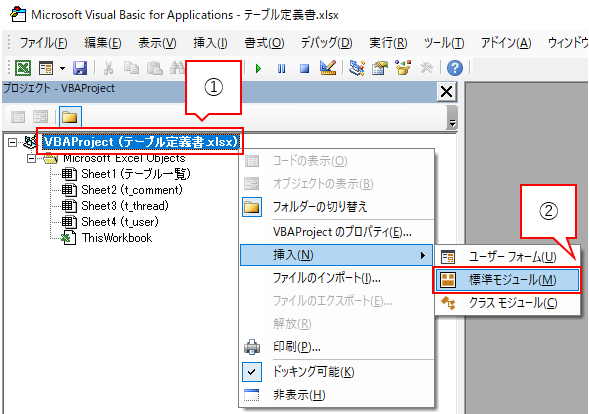
4.テーブル定義書の作成項で作成したテーブル定義書を開き、[Alt]+[F11]キーを同時押しします。
5.テーブル定義書のプロジェクトを選択肢し(①)、右クリックして[挿入)(N)]->標準モジュール(M)をクリックします(②)。
6.コピーしたExcelVBAソースコードを貼り付けます。
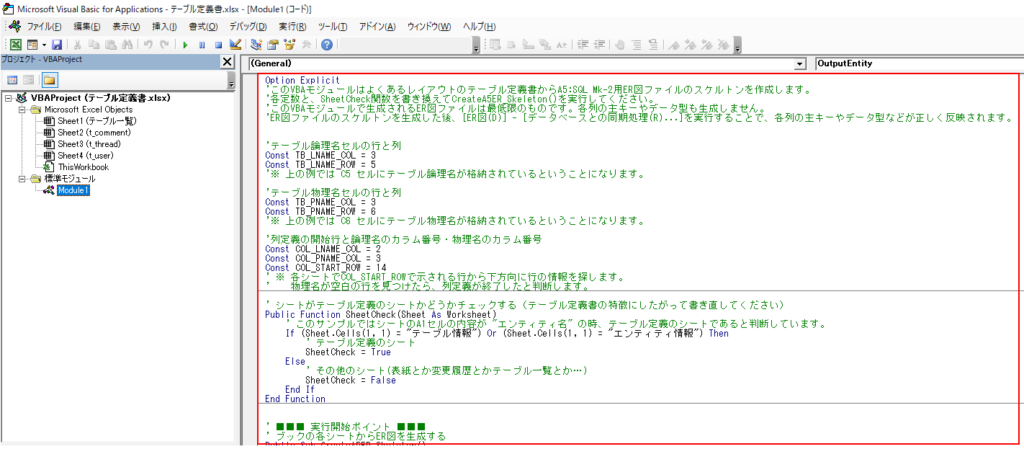
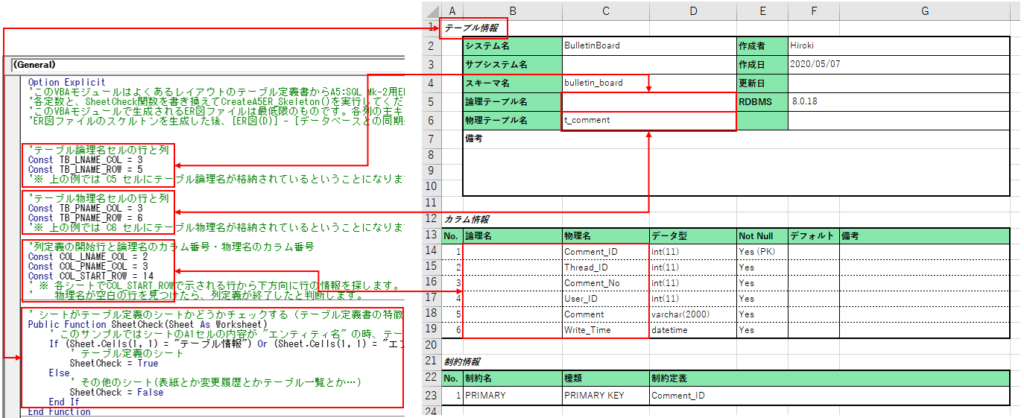
7.ソースコード内容をテーブル定義書フォーマットに合わせてカスタマイズします。テーブル定義書が初期状態のままであれば修正の必要はありません。
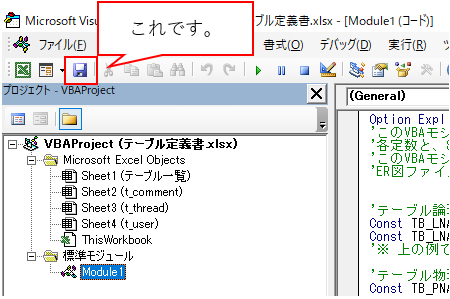
8.保存ボタンをクリックします。
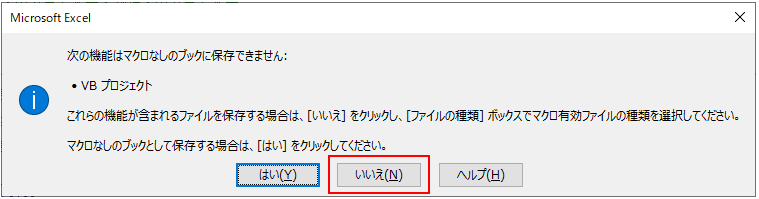
9.[いいえ]をクリックします。
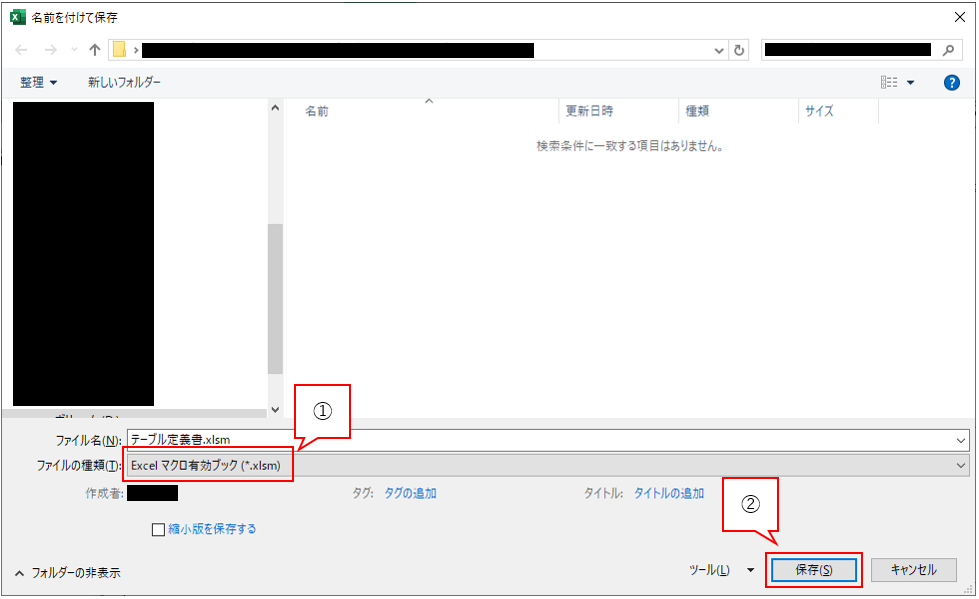
10.ファイル種類で”Excel マクロ有効ブック (*.xlsm)”を選択し(①)、[保存(S)]をクリックします(②)。
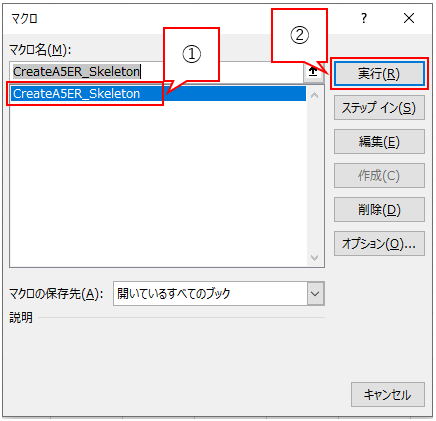
11. xlsmファイルとして保存されるので、[Alt]+[F8]キーを同時に押します。
12.”CreateA5ER_Skeleton”が選択されていることを確認し(①)、[実行(R)]をクリックします(②)。
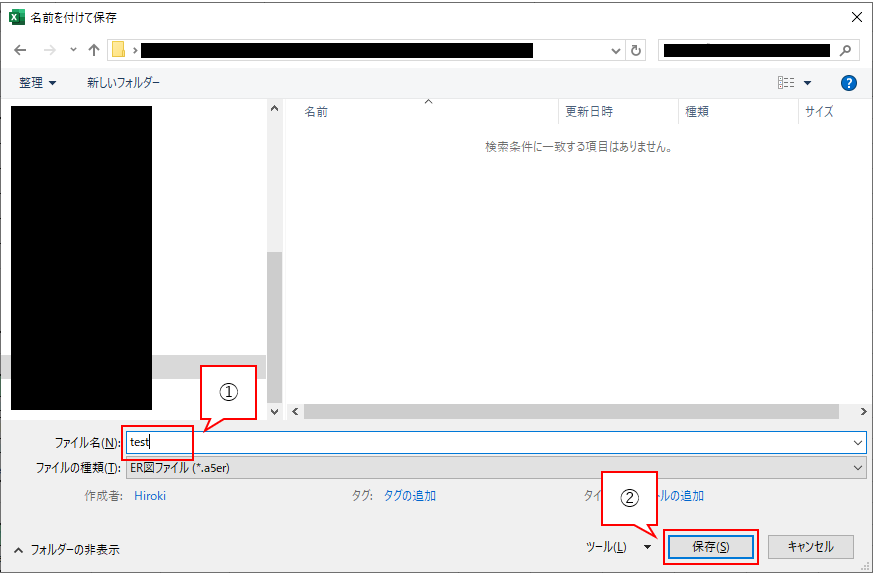
13.ファイル保存ダイアログが表示されるので任意のフォルダーへ移動して適宜ファイル名を指定し(①)、[保存]をクリックします(②)。
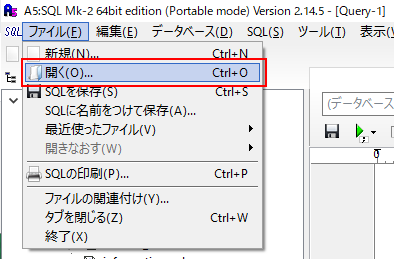
14.A5:SQL Mk-2の[ファイル(F)]->[開く(O)…]をクリックします。
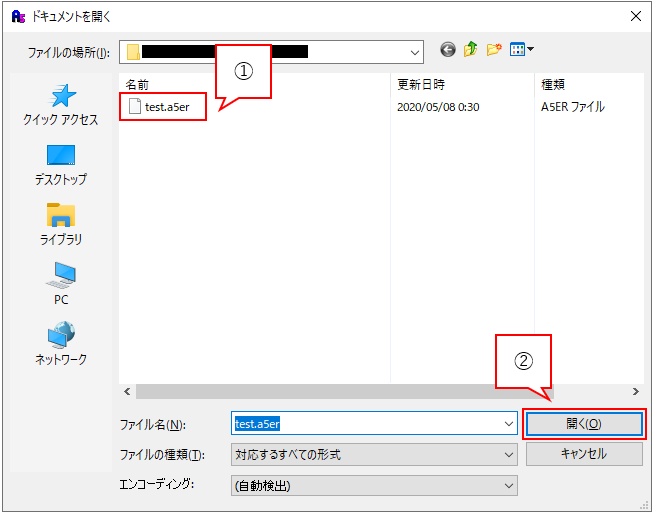
15.ファイル選択ダイアログが開くので、11~13で作成したファイルを選択し(①)、[開く(O)]をクリックします(②)。
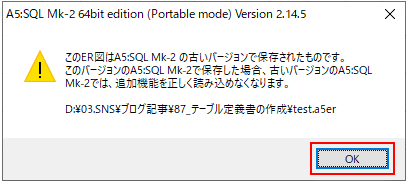
16.[OK]をクリックします。
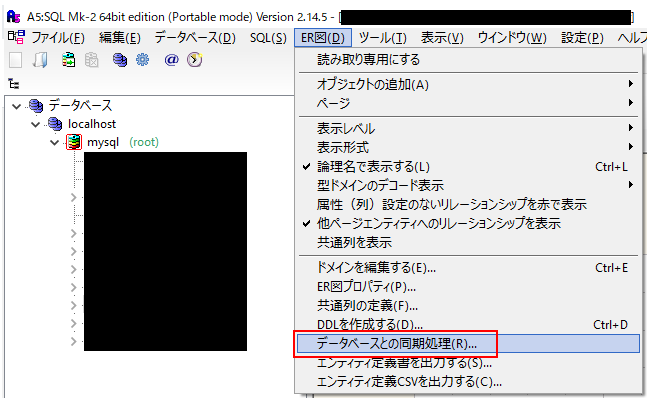
17.[ER図(D)]->[データベースとの同期処理(R)…]をクリックします。
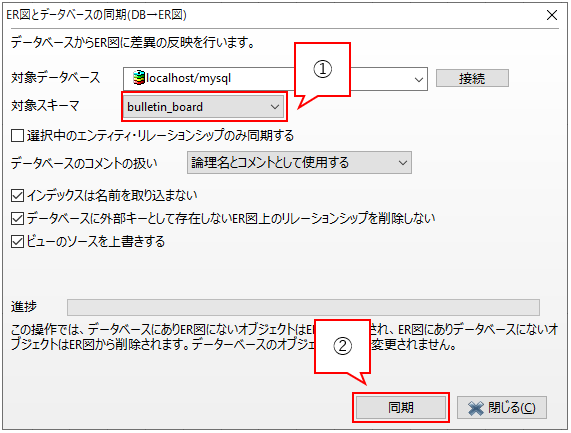
18.テーブル定義書のテーブルが実在するデータベースを選択し(①)、その他の項目を適宜選択のうえで[同期]をクリックします(②)。
19.OKをクリックします。
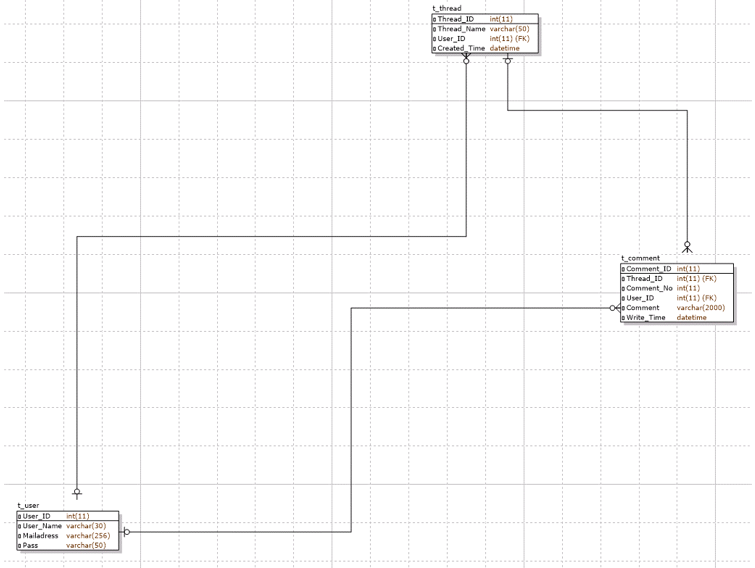
20.キー情報やリレーション情報などが追記されています。
21.適宜見栄えの調整を行い、それぞれの図形を左上部へ移動します。
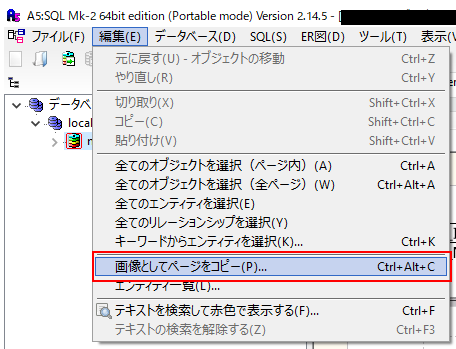
22.[編集]->[画像としてページをコピー(P)…]をクリックします。
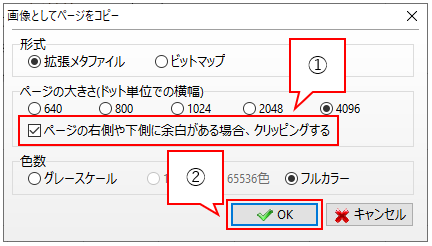
23.”ページの右上や下側に余白がある場合、クリッピングする”にチェックがついていることを確認し(①)、その他の項目は適宜設定して[OK]をクリックします(②)。
24.[OK]をクリックします。
25.テーブル定義書に新しいシートを作成などして、コピーしたER図を張り付ければ良いかと思います。
以上となります。参考になれば幸いです。